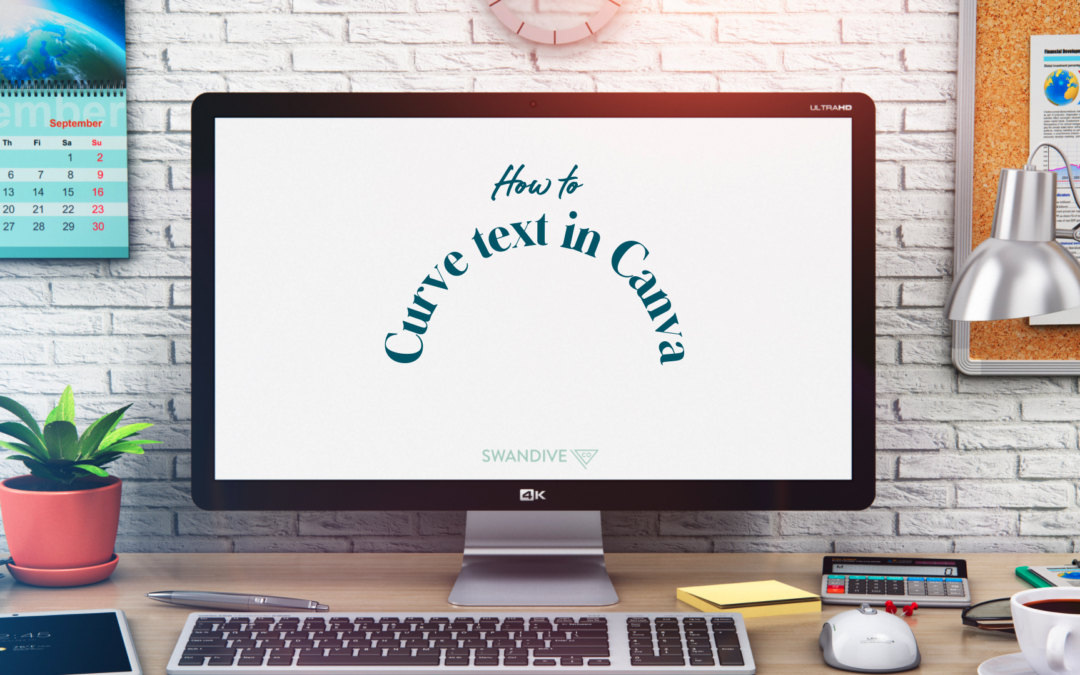
Canva is a great tool for creating beautiful visual designs. You can make anything on Canva (from Instagram posts to presentations), but are you making the most out of it? Here’s how to curve text using Canva, and other hacks you need to know!
One of the best things about Canva – no need to download a heavy program like Adobe Photoshop to your computer.
Canva is free, cloud-based, and keeps your computer from being bogged down (Sorry, Adobe, but you’re just too bloated for my computer storage).
Canva has quickly become one of the main tools of the trade. It makes any graphic work easy for non-designers.
Canva is a must-have for new entrepreneurs, virtual assistants, bloggers, and anyone that needs to create quick but professional designs.
How to underline text in Canva
There is now a ‘true’ underlining feature in Canva, so gone are the days of using line elements under text. All you have to do is this to underline text in Canva:
- Highlight your text, then select ‘underline’ in the top toolbar.
- You can also select the text and just press ‘CTRL + U’ for Windows and ‘COMMAND + U’ for Mac.

HOW TO: CURVE TEXT IN CANVA

How to curve text in Canva – two techniques to try
OPTION 1: EASY WAY TO CURVE TEXT IN CANVA
Canva now has a ‘curve option for text. This can be found in the effects option on the toolbar once you’ve selected some text on your design.


I created a 15 second tutorial on how to curve text in Canva (because it’s that easy)
Video Player
How to curve text in Canva
OPTION 2: CUSTOM WAY TO CURVE TEXT IN CANVA
If the regular curve text effect in Canva option doesn’t make your text look just the way you want it to, then try this:
After selecting a template (like YouTube thumbnail for example), go to the tab labeled ‘elements’ and find ‘shapes.’
- Choose a circle and click on it so it goes onto the template.

- Copy the circle by clicking on it and then selecting ‘duplicate.

- Make the second circle smaller and then put it in the center of the first circle.You might have to use the ‘position’ button, located at the top-right so that the smaller one is “forward” and therefore visible in the first circle.

- Use the ‘lock’ button in the upper right to stop these circles from dancing around.
- Now comes the hard and tedious part. Text will need to be typed out letter by letter in separate boxes and then adjusted in the space between the two circles.
- Make sure that the letters look as unified as possible, then when you’re happy, select them all and click on the three dots that can be found on the upper right (on the toolbar), and select ‘group’.This makes the letters move around the page the way that you’ve set them!The letters can also be ‘ungrouped’ by repeating the procedure.

